 how-to
Identifying Site Risks Before Starting Construction
Table of Contents
- Why Identifying Site Risks Before Starting Construction Pays Off
- How to Run a Construction Site Risk Assessment in Five Steps
- Your Preconstruction Site Inspection Checklist by Project Phase
- Construction Site Hazards to Look For Before Day One
- Environmental and Neighboring-Property Risks Most Teams Miss
- Turning Findings Into a Construction Risk Management Plan
- Dynamic Risks: When to Reassess and Who Owns the Handoff
- Frequently Asked Questions
Last Updated: October 18, 2026
Why Identifying Site Risks Before Starting Construction Pays Off
Identifying site risks before starting construction is the cheapest work you will ever do on a project.
At Master Builder llc., we walk every site before we mobilize a crew. It is not paperwork for its own sake.
Here is the part most homeowners and small developers get wrong: they treat a site walk as a formality.
Below, we break down the exact five-step process we use, plus a phase-by-phase checklist you can take to your next site visit.
How to Run a Construction Site Risk Assessment in Five Steps
A construction site risk assessment follows five steps: walk the site, list the hazards, rate each by likelihood and severity, choose controls, and assign an owner. Do this before mobilization, not after.
The sequence matters. Skipping straight to controls means you are fixing problems you never properly named. The worked example below shows how the rating step turns a messy list into a ranked, defensible action plan.
Step 1: Walk the Site and Record What You See
Walk the entire property on foot, including the parts nobody plans to touch. Photograph everything. Note soil conditions, slopes, existing utilities, and access routes.
A common mistake is walking only the build footprint. The staging area, the driveway, and the neighbor's fence line matter just as much. Walk it in the same order every time so you do not skip a zone, and shoot a photo from the same viewpoint at each visit so changes are obvious when you compare dates.
Step 2: List the Hazards Without Filtering
Write down everything you see before you judge any of it. Filtering too early is how obvious hazards get talked out of the list. Group the raw list by hazard family, physical, electrical, equipment, fall, confined space, health, environmental, so nothing gets buried.
Step 3: Rate Each Hazard by Likelihood and Severity
Give every hazard two scores on a simple 1-to-5 scale. Likelihood asks how probable harm is if work proceeds as planned. Severity asks how bad the outcome would be. Multiply the two for a risk score from 1 to 25, then band it:
- 1-4: Low. Manage through routine supervision and housekeeping.
- 5-9: Medium. Needs a named control before the task starts.
- 10-15: High. Needs an engineered control or a change to the plan.
A worked example makes the mechanism concrete. Consider an unguarded excavation edge next to the only site access route:
- Before controls: Likelihood 4 (crews and deliveries pass it constantly), severity 4 (a fall into an open trench can be fatal), score 16, critical.
- Control: Install temporary guardrail and a marked pedestrian route away from the edge.
- After controls: Likelihood drops to 1, severity stays 4, score 4, low.
The score does not just rank the list. It shows whether the control actually worked. If the after-control score is still high, the control is not good enough and you go back to the hierarchy.
Step 4: Choose Controls Using the Hierarchy of Controls
The hierarchy of controls ranks fixes from most to least effective: eliminate the hazard, substitute something safer, engineer a solution, add administrative rules, then rely on personal protective equipment last.
PPE is the backstop, not the plan. If your only control is a hard hat, you have not controlled the risk. For each high or critical item, write the control you chose and the residual score after the control, that pairing is what makes the register auditable.
Step 5: Assign an Owner and a Deadline
Every control gets a named person and a date. Unowned controls are wishes. The owner is whoever can actually make it happen before the task starts, the site superintendent, the trade foreman, or the project manager, not a department.
Your Preconstruction Site Inspection Checklist by Project Phase
A preconstruction site inspection checklist should be organized by project phase, not by hazard type. That way nothing falls through the cracks between design, permitting, and mobilization.
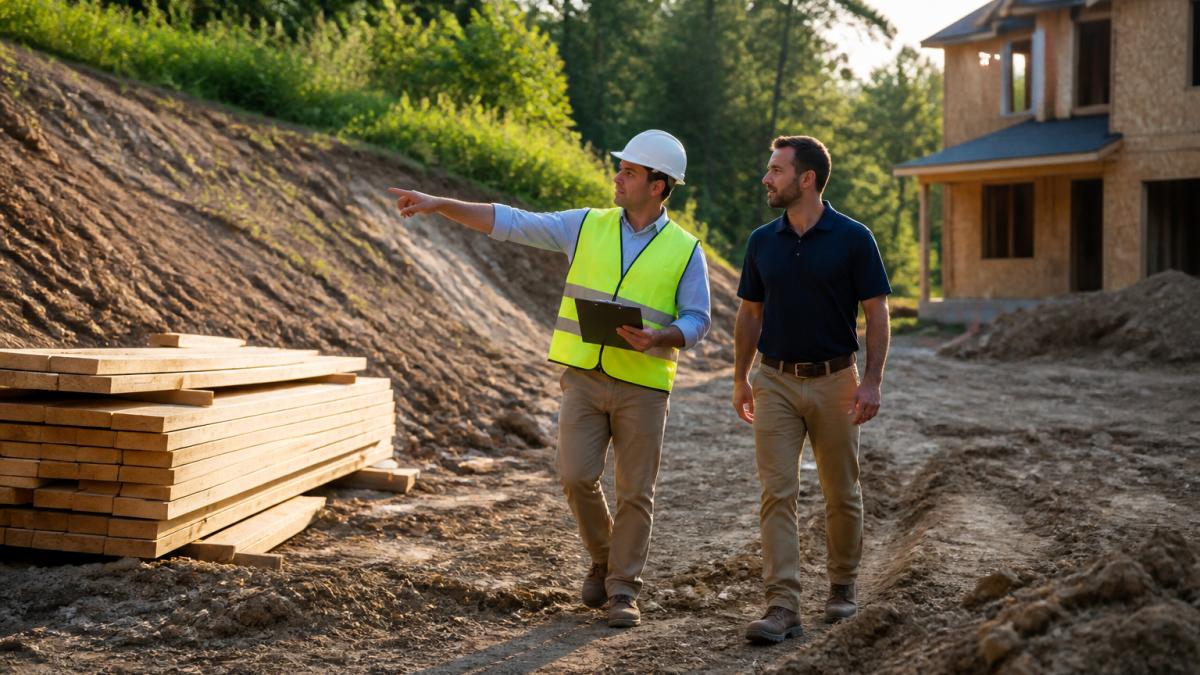
Use this checklist as your starting point:
Pre-design phase
- Confirm property lines and easements
- Pull utility locate records
- Note drainage patterns and low spots
Pre-permit phase
- Review soil and geotechnical reports
- Confirm setbacks and zoning limits
- Identify protected trees or wetlands
Pre-mobilization phase
- Establish staging and dumpster locations
- Map site access and emergency routes
- Confirm overhead line clearances
Pre-demolition phase
- Test for hazardous materials before disturbing anything
- Shut off and tag utilities
- Confirm structural shoring needs
Print it, carry it, and check boxes on site. A checklist you fill out at a desk is just a wish list.
Construction Site Hazards to Look For Before Day One
The most common construction site hazards fall into a few families: physical, electrical, equipment, fall, confined space, and health exposures. Walk the site looking for each family in turn.
Physical, Electrical, and Equipment Hazards
Physical hazards include uneven terrain, unstable soil, sinkholes, and falling objects from above or from stockpiles. Look at the ground before you look at the sky.
Electrical hazards deserve their own pass. Trace exposed wiring, confirm overhead power line clearances, and identify every panel and disconnect.
Machinery and equipment hazards show up in tight access. Ask whether a delivery truck can turn around, whether an excavator has swing room, and whether the ground will hold a loaded concrete truck.
Working at Height, Confined Spaces, and Health Exposures
Fall hazards are the leading cause of serious injury on construction sites, and they start before the first ladder goes up.
Confined spaces need atmospheric testing before entry, not after. Crawl spaces, vaults, and tanks all qualify. If you cannot test the air, nobody goes in.
Health hazards are the quiet ones. Dust exposure from cutting concrete or masonry, respiratory hazards from mold or silica, and skin conditions from prolonged contact with wet materials all belong on the list.
Environmental and Neighboring-Property Risks Most Teams Miss
Environmental and neighboring-property risks are the blind spot in most site risk assessments.
Start with water. Where does storm runoff go, and will your excavation change it?
Then look at the neighbors themselves. Shared walls, overhanging trees, and access easements all constrain what you can do.
Dust, noise, and vibration from demolition travel further than most people expect. On occupied sites, these become daily complaints.
Regulatory requirements matter here too. Before you disturb painted surfaces or older insulation in a pre-1978 home, review the EPA lead-safe renovation rules.
Turning Findings Into a Construction Risk Management Plan
A construction risk management plan is the written record of what you found, how you rated it, and who is responsible for each control. It turns a site walk into an enforceable plan.
Most teams stop at the hazard list. The gap that sinks projects is the handoff: nobody owns the register, nobody approves changes, and the crew never sees it.
- The risk register. A running list of every hazard, its likelihood and severity score, its control measure, and its residual score after the control. One owner keeps it current.
- The control schedule. Which controls happen before mobilization, which happen during work, and which are ongoing. Tie each to the phase where it must be in place.
- The responsibility matrix. A named person for each item, with a deadline and a sign-off line. The site superintendent typically owns field controls; the project manager owns schedule and budget impacts.
- The communication log. Who was told, when, and how. Crew briefings, subcontractor handoffs, and owner notifications all get a line.
Who Records, Approves, and Updates
Assign four roles explicitly, even on a small job:
- Recorder: the person who walks the site and enters findings. Usually the superintendent or a designated safety lead.
- Approver: the person who signs off on high and critical controls before work starts. Usually the project manager, with the owner notified for cost or schedule impacts.
- Communicator: the person who briefs the crew and each incoming trade. The foreman is the natural fit because the crew already listens to them.
Documentation That Survives a Dispute
Keep the register short and usable, but make it traceable. Date every entry. Note who added it and who approved the control. Attach the photo that prompted it.
Digital tools help here. Geotagged photos, digital inspection forms, and a shared risk register make findings easier to share and harder to lose. A paper checklist that never leaves the truck is not a record.
Worker Consultation Belongs in the Plan
The crew doing the work often spots hazards the office never sees. Build a standing item into the weekly walk to ask them, and log what they say in the same register. A hazard raised by a worker and closed with a named control is the cheapest risk reduction on the job.
Dynamic Risks: When to Reassess and Who Owns the Handoff
Site risks change the moment work begins. A risk assessment is a living document, not a one-time event.
Reassess when any of these triggers hit:
- A new trade arrives on site
- Weather changes ground conditions
- Demolition reveals hidden conditions
The handoff is where good plans fall apart. When a subcontractor takes over an area, they inherit the risks in it. Make the handoff explicit.
At Master Builder llc., our end-to-end project management keeps that handoff in one set of hands.
Every project carries risk.
Frequently Asked Questions
How do you conduct a construction site risk assessment?
Walk the site and record every hazard you can see, from uneven terrain to overhead power lines. Rate each one by likelihood and severity, then apply controls in order: eliminate the hazard, substitute a safer method, engineer it out, add administrative rules, and use PPE last. Write the results into a risk register with an owner and a review date. A construction site risk assessment is only useful if it ends with named controls and deadlines, not just a list of problems.
What should be included in a preconstruction site inspection checklist?
Cover the ground and access first: uneven terrain, unstable soil, sinkholes, and utility locates. Then utilities and electrical, including exposed wiring and overhead power lines. Add machinery and equipment, fall hazards and working at height, confined spaces with atmospheric testing, and health exposures such as dust and skin conditions. Finish with housekeeping, warning signs, and neighboring-property risks. Organize the checklist by project phase so nothing gets skipped between pre-construction and mobilization.
Who is responsible for identifying construction site risks?
The general contractor owns the process, but identification should not sit with one person. Superintendents, subcontractors, and worker safety representatives each see different parts of the site, and worker consultation surfaces hazards a single walk misses. On residential and light commercial jobs, the owner or developer should also confirm site conditions and neighboring-property concerns before mobilization. Document who inspected, when, and what they found so responsibilities and handoffs stay clear.
When should a site risk assessment be completed and updated?
Complete the first assessment during pre-construction, before any crew mobilizes or materials arrive. Update it whenever conditions change: a new phase starts, weather alters the ground, new trades enter, or a near miss occurs. Treat the register as a living document with review dates rather than a one-time form. Dynamic risks and reassessment triggers, such as excavation or a schedule shift, should be written into the construction risk management plan so the update happens automatically.